Repowering SV Chérie
Background
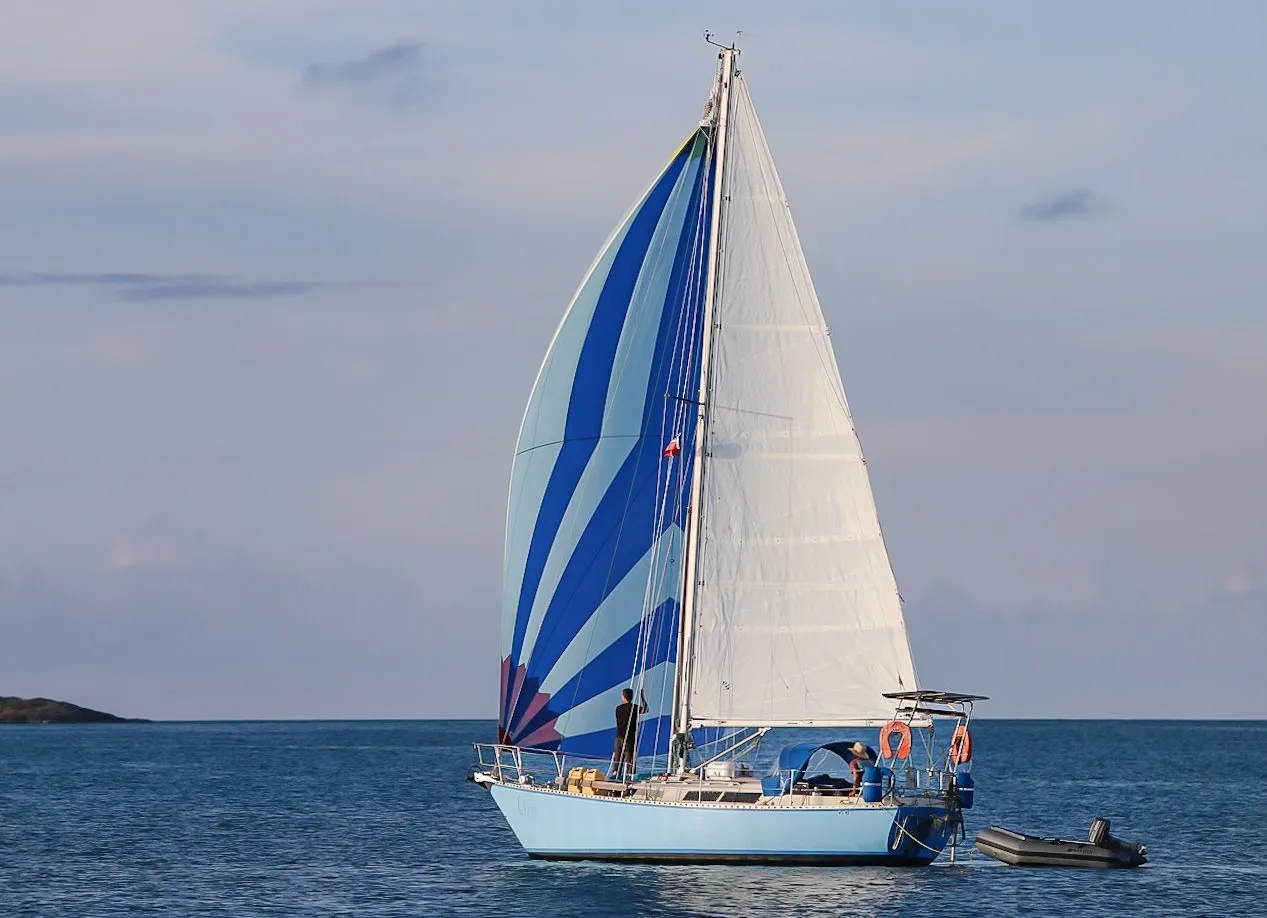
I did a complete refit of this vessel over the course of 10 months in a resource constrained North Carolina boatyard. It is by far the most massive personal project I have ever taken on. The scope of the project included rebuilding and modifying every major subsystem of the boat at a quality high enough to endure a 3-5 year voyage around the world.
Major projects included repowering, electrical, comms, plumbing, rigging, re-architecting the underwater galvanic corrosion protection system, through-hulls, and structural repairs.
One of the many ways this project challenged me was balancing my experience as an engineer, and my expectations for quality and rigor with the realities of my environment, and available resources.
I am limiting this page to the repower for the sake of brevity.
Details
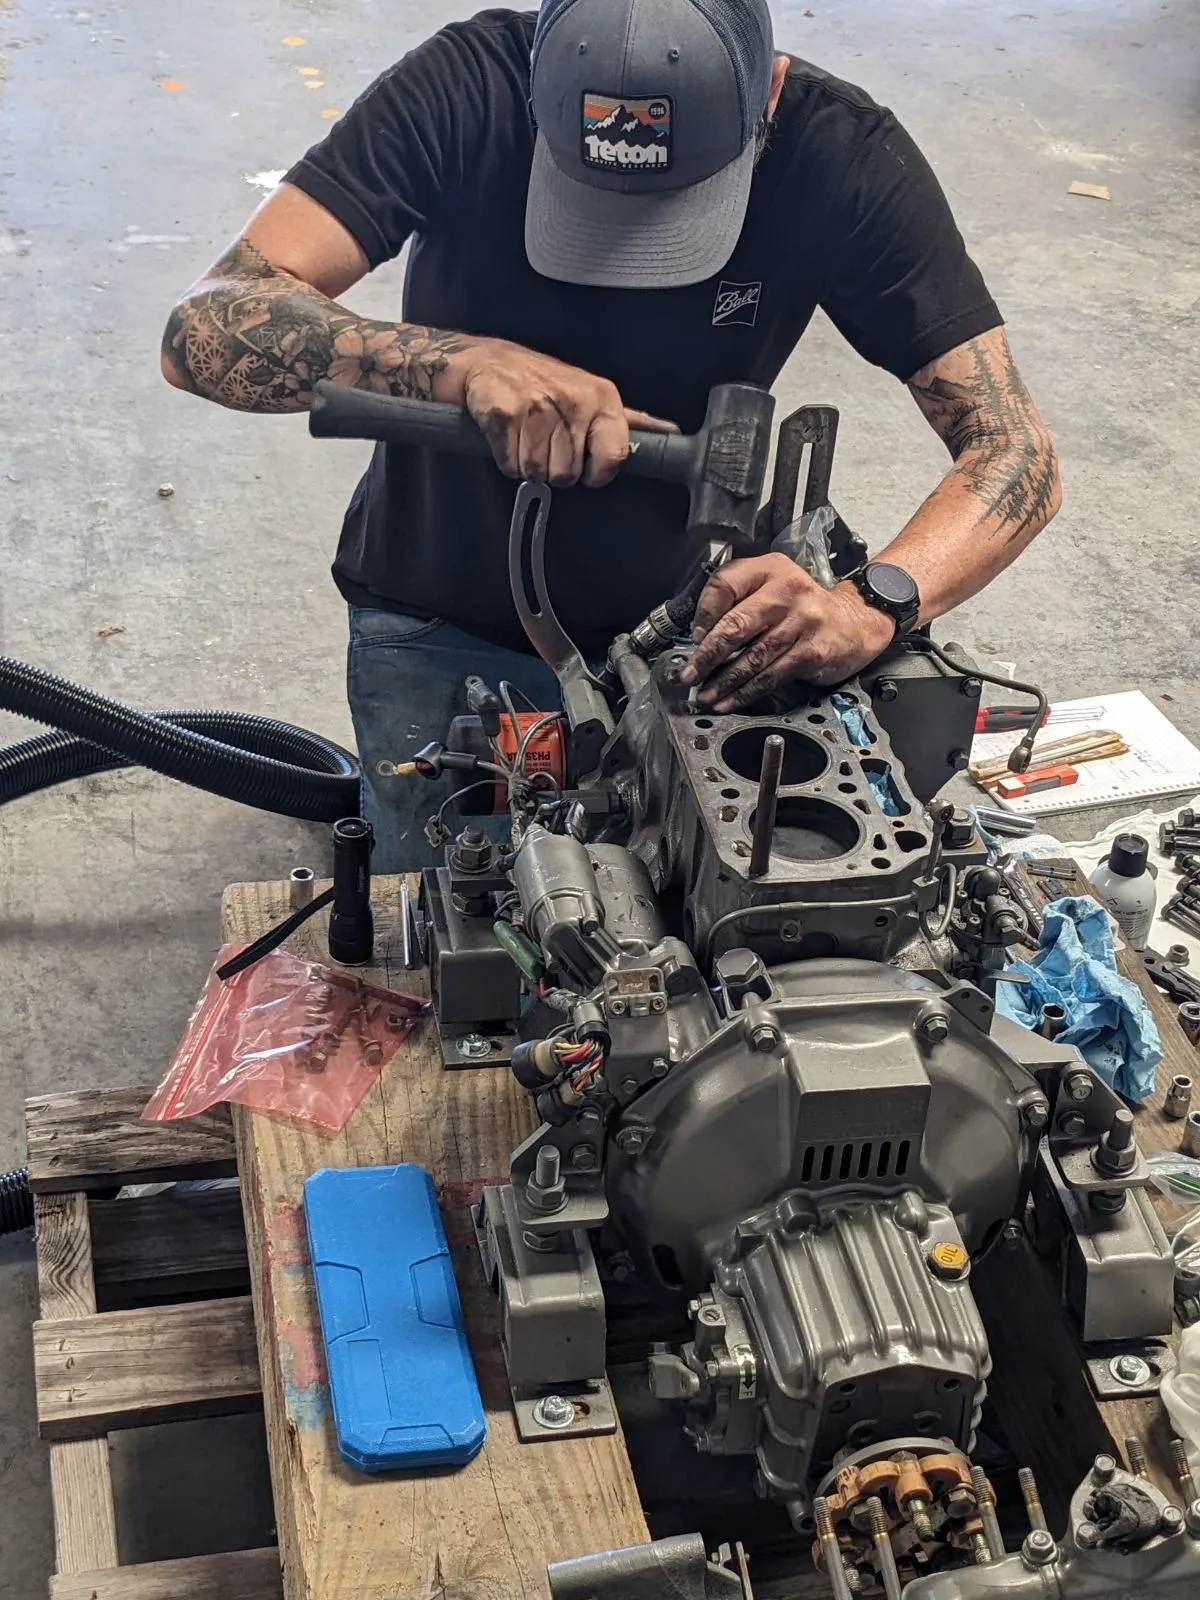
Once I confirmed that the engine was at its end of life, I removed it and started tearing it down thinking that I could rebuild it myself — that I could potentially replace the piston sleeves, rings, and bearings and call it good for at least 2,000 or so hours (see Fig. 1). But after creating a BOM and attempting to source the parts, it became clear that doing so would not be an option - the supply chain had dried up. I couldn’t even find a head gasket much less a set of cylinder sleeves.
It turned out that the old engine was very rare and therefore not easily replaced with a like-for-like solution. This required choosing a more contemporary replacement option that minimized the ripple effects, but still required significant planning, and structural modifications to the primary mechanical interface.
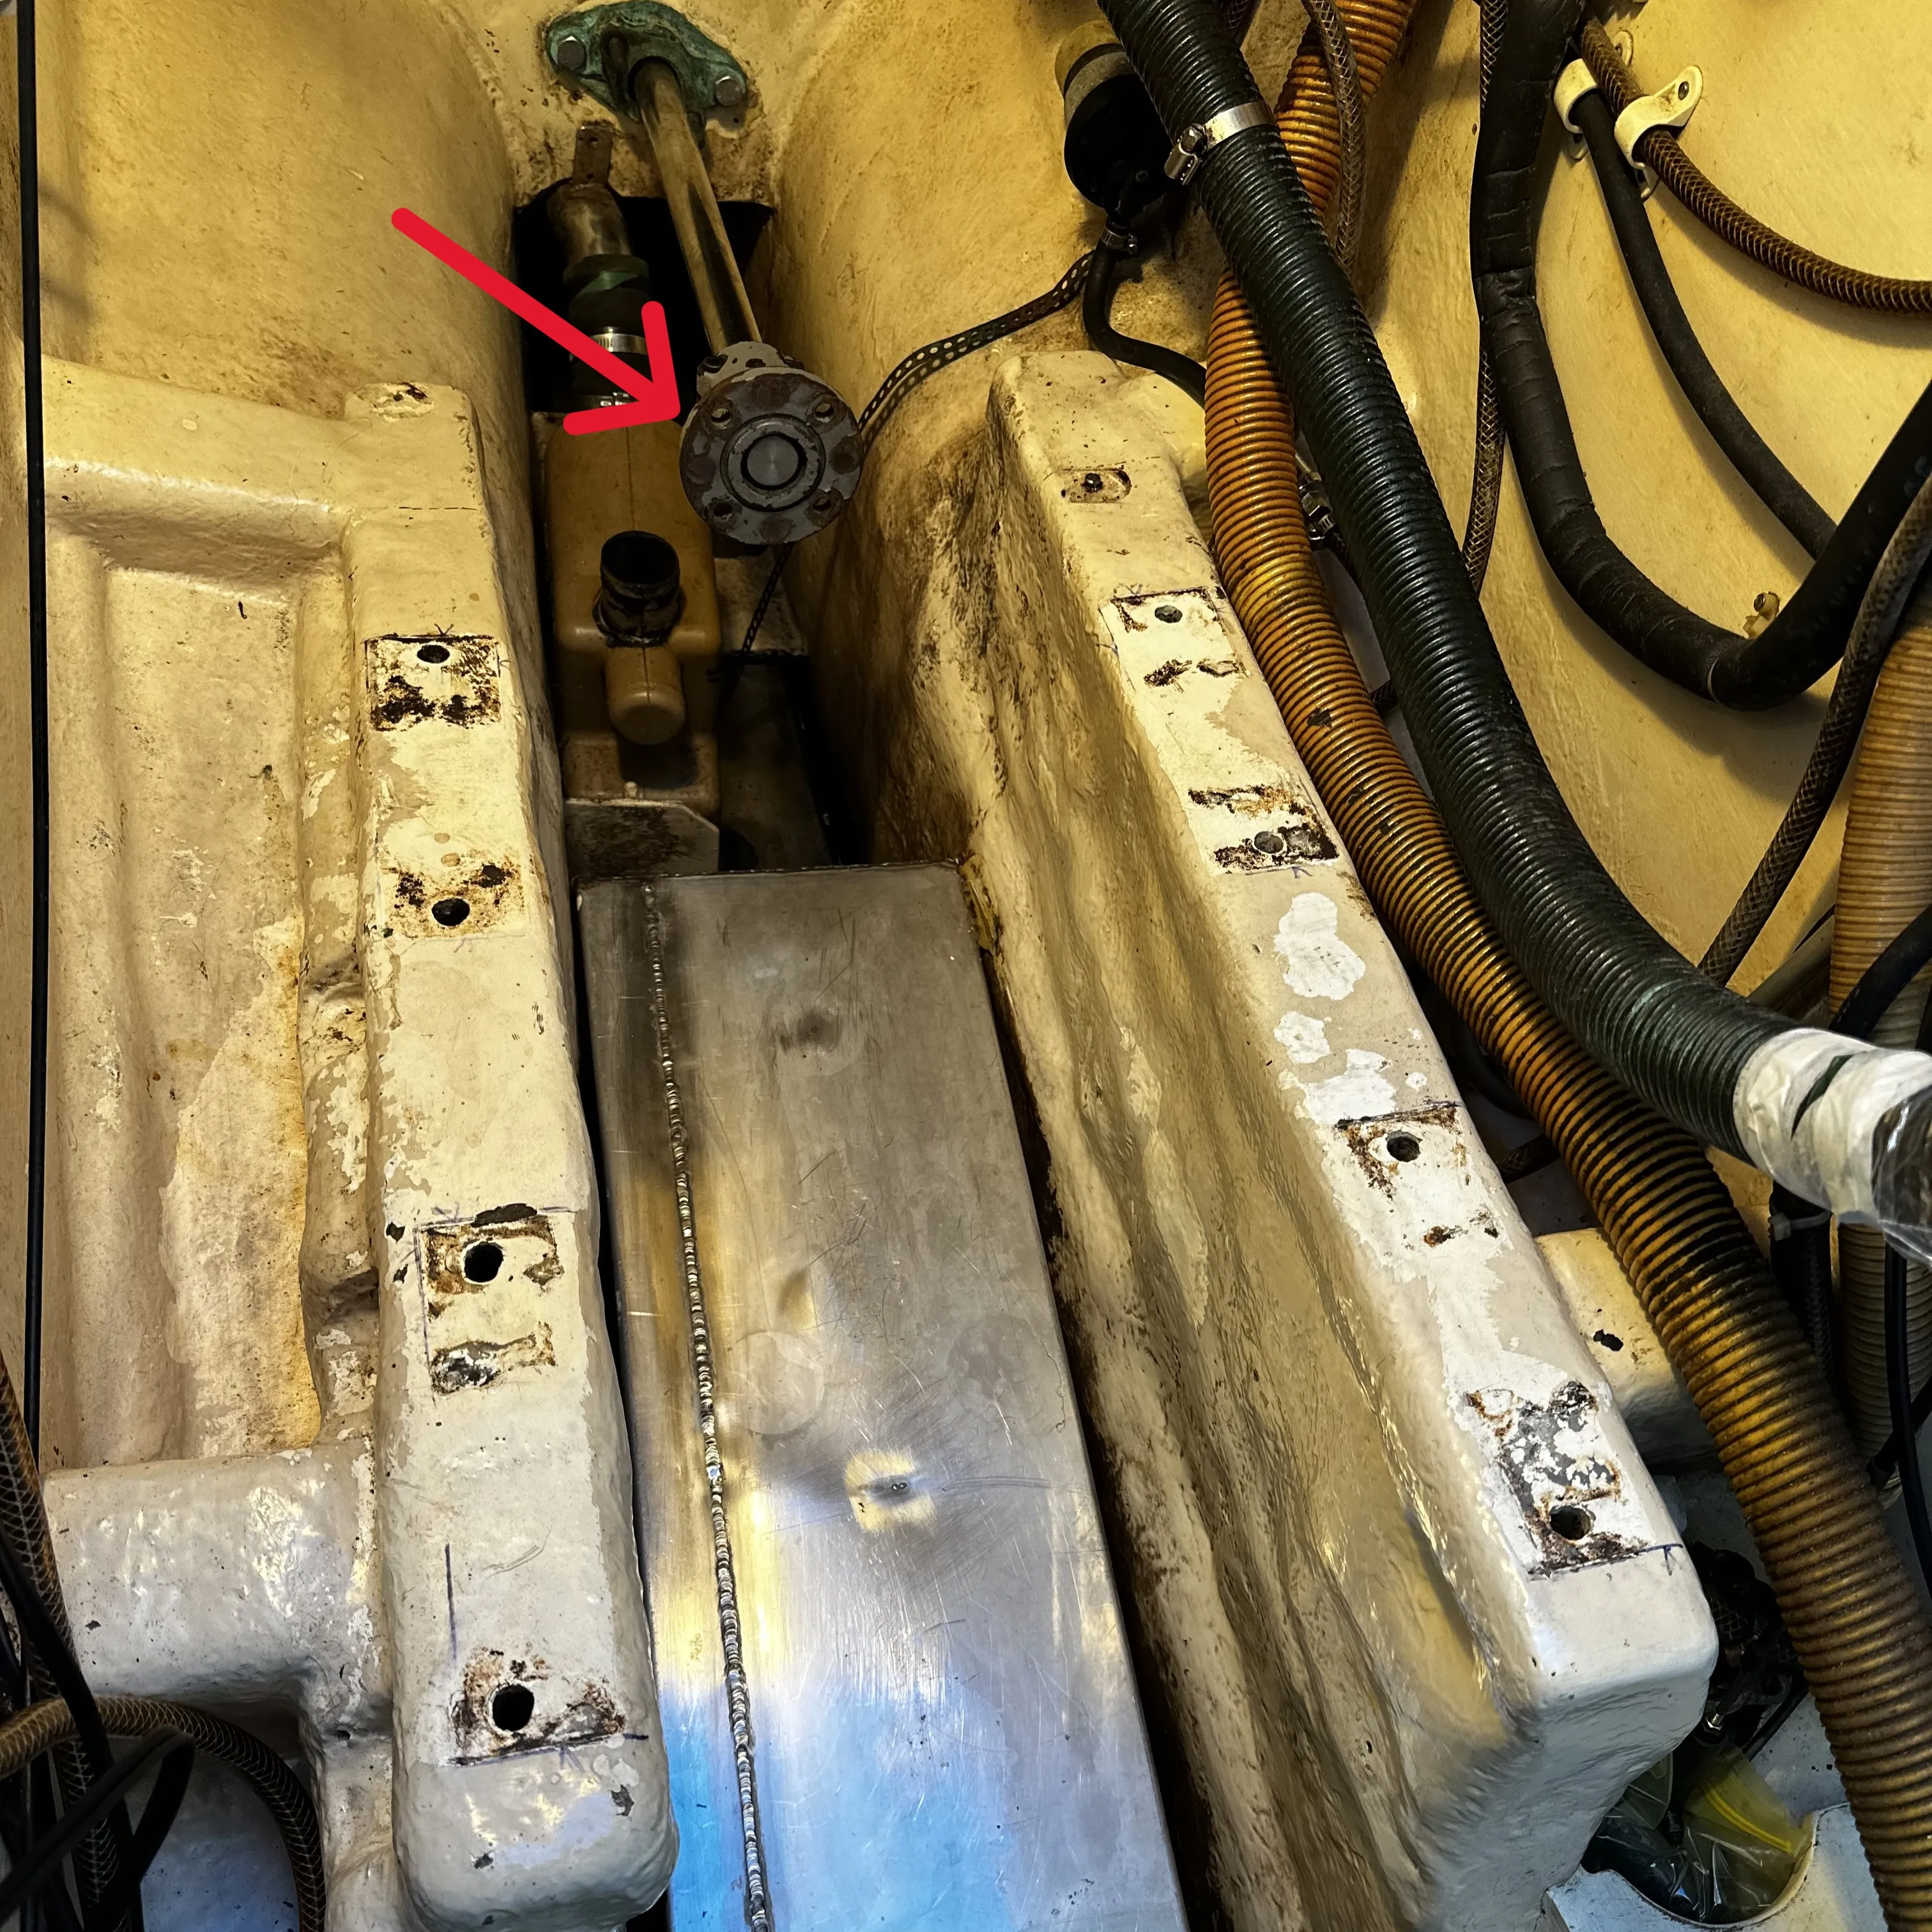
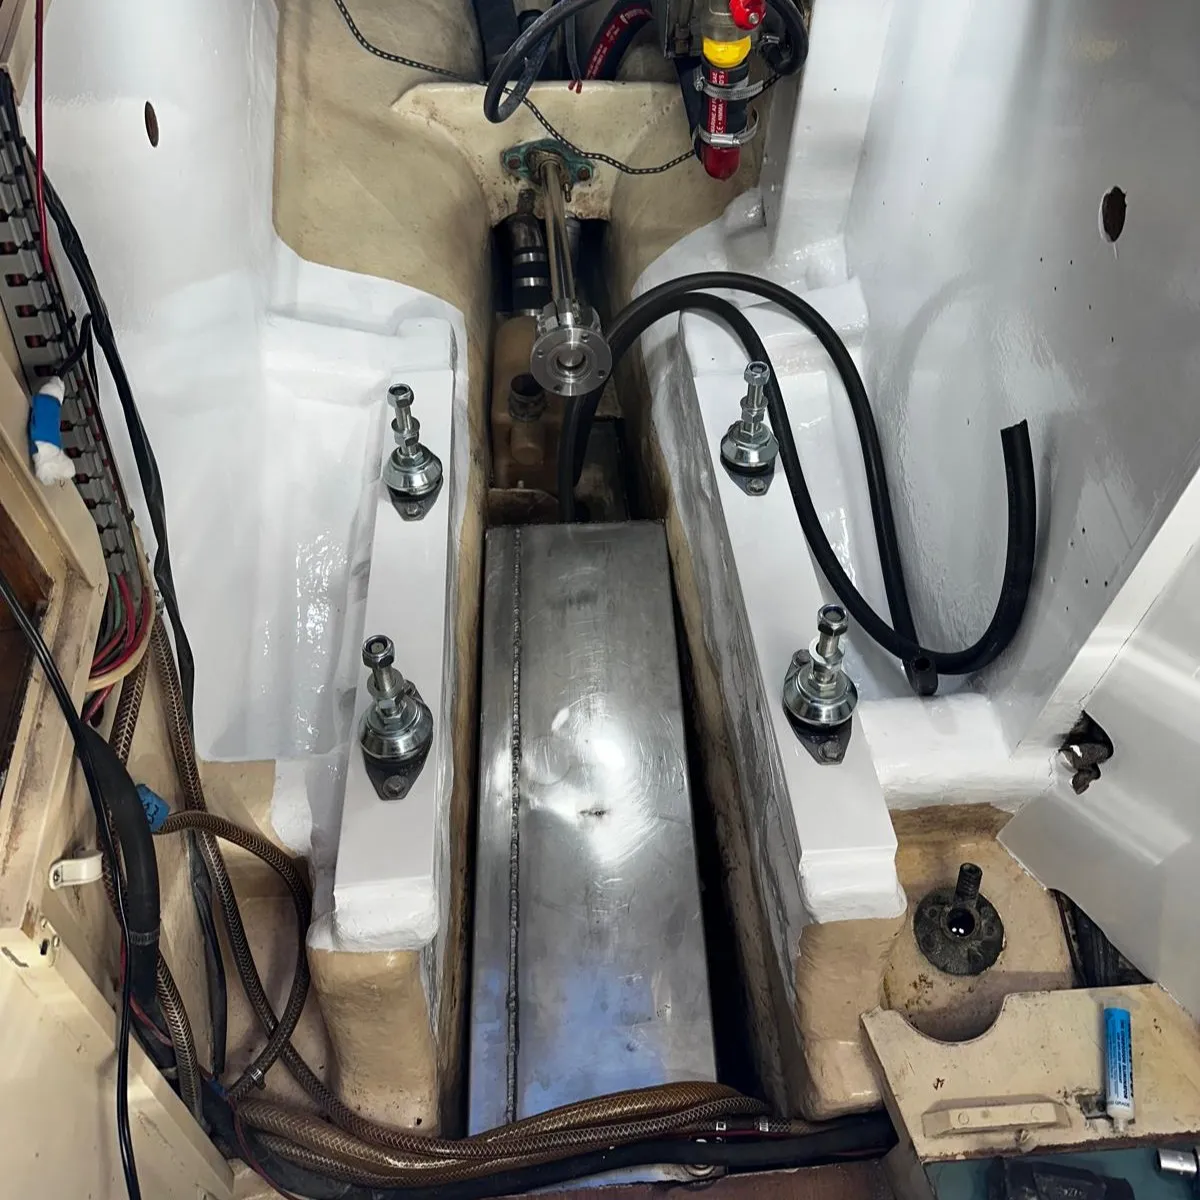
The most difficult and critical parts of project were engine placement and structural modification of the primary mechanical interface — the longitudinal stringers that the engine is mounted to (see Fig. 2). I needed to adjust the height and tilt of the stringers to meet the specifications of the engine mounts while maintaining alignment with the propeller shaft.
In terms of strength — my guiding principle was that any modifications I made needed to be able to survive capsizing in large seas. Meaning the propulsion system needed to remain operational if the boat was spun 360 degrees along it’s longitudinal axis.
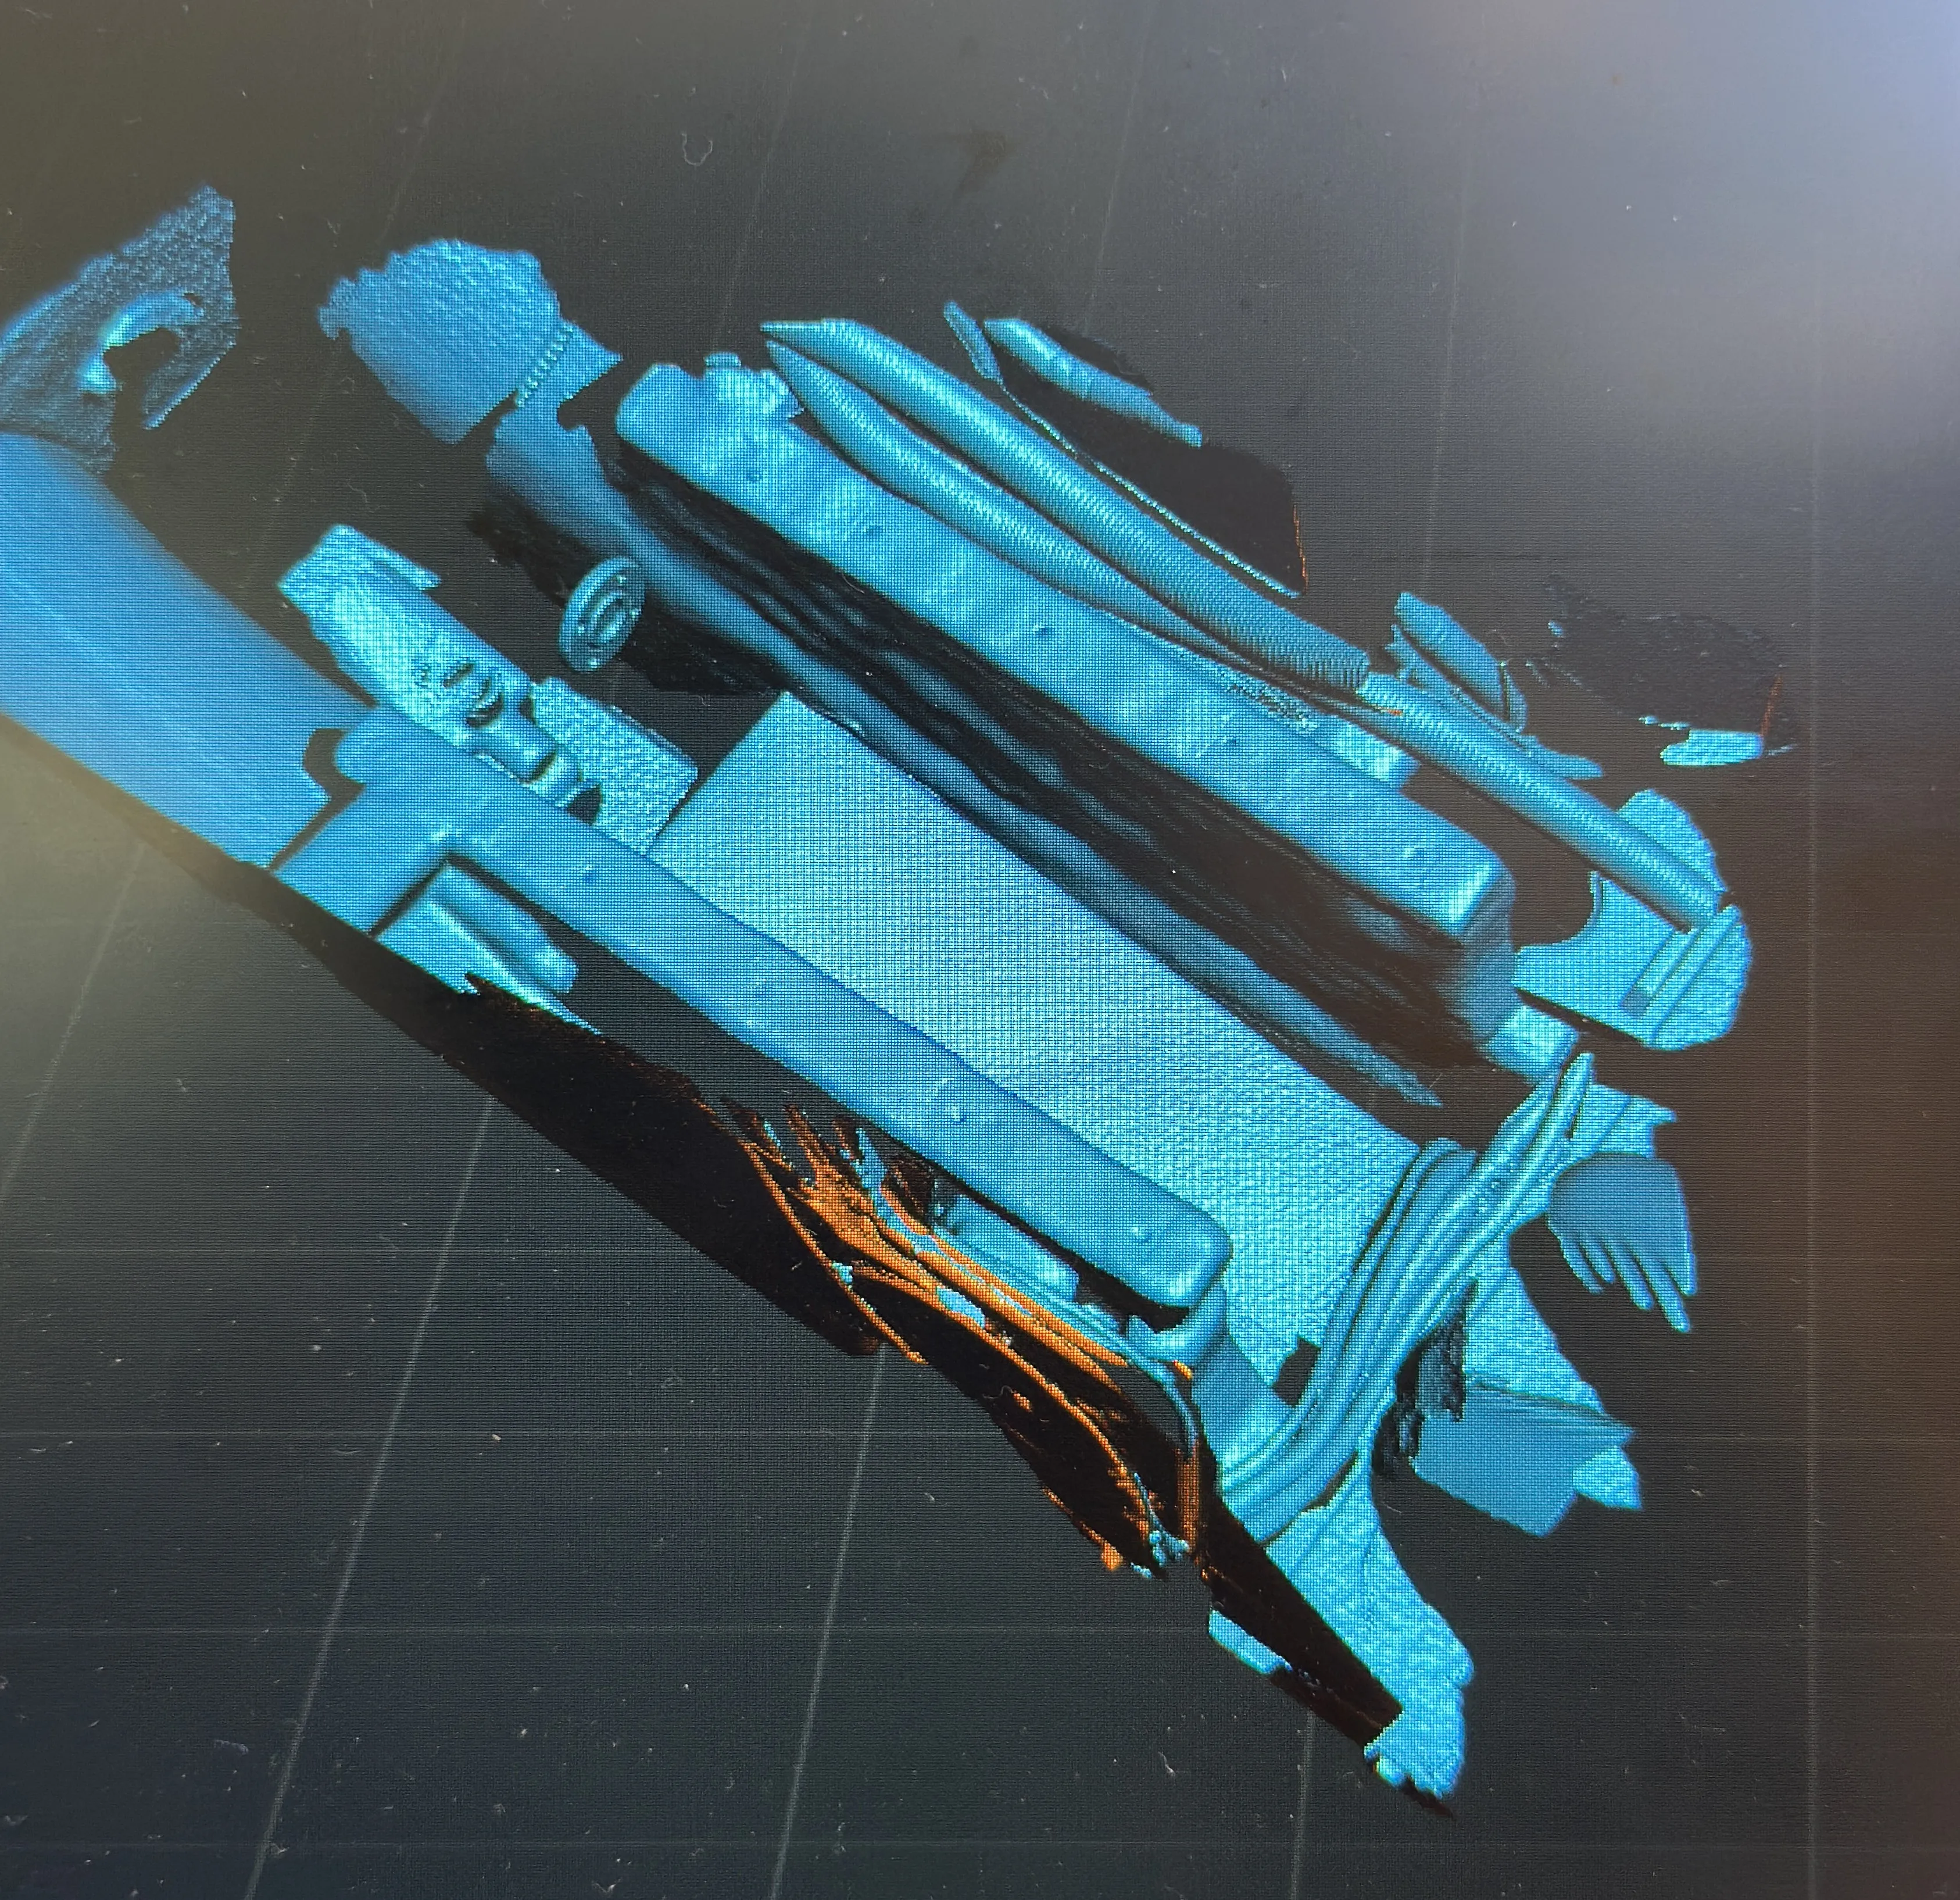
It is difficult to establish datums in boats - there are very few flat surfaces that are square to one another. So I decided to leverage a 3D scanner and Fusion 360 to make this a bit more manageable. I chose to set my primary datums at the mechanical interface between the prop shaft flange and the engines gearbox (see Fig. 2 & Fig. 3). That interface was chosen because it’s a critical interface with limited degrees of freedom.
I also wanted the structure modifications to be minimally intrusive to the existing structure that had been rigorously tested by a 10 year, 50,000 mile voyage around the world by the previous owner. A voyage that included several storms at sea and a knock down in the Pacific Ocean.
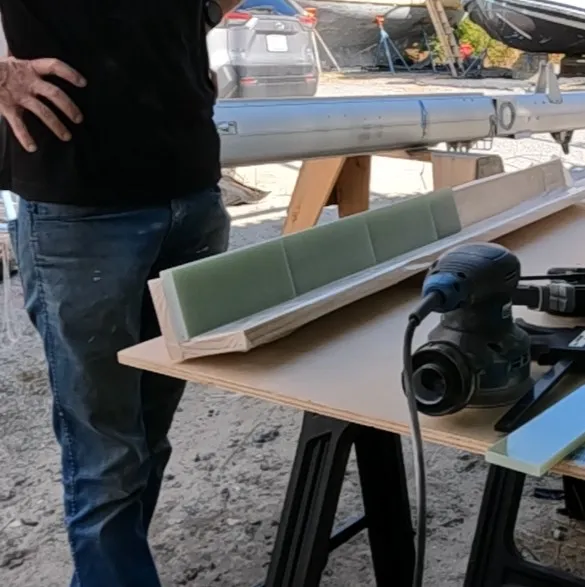
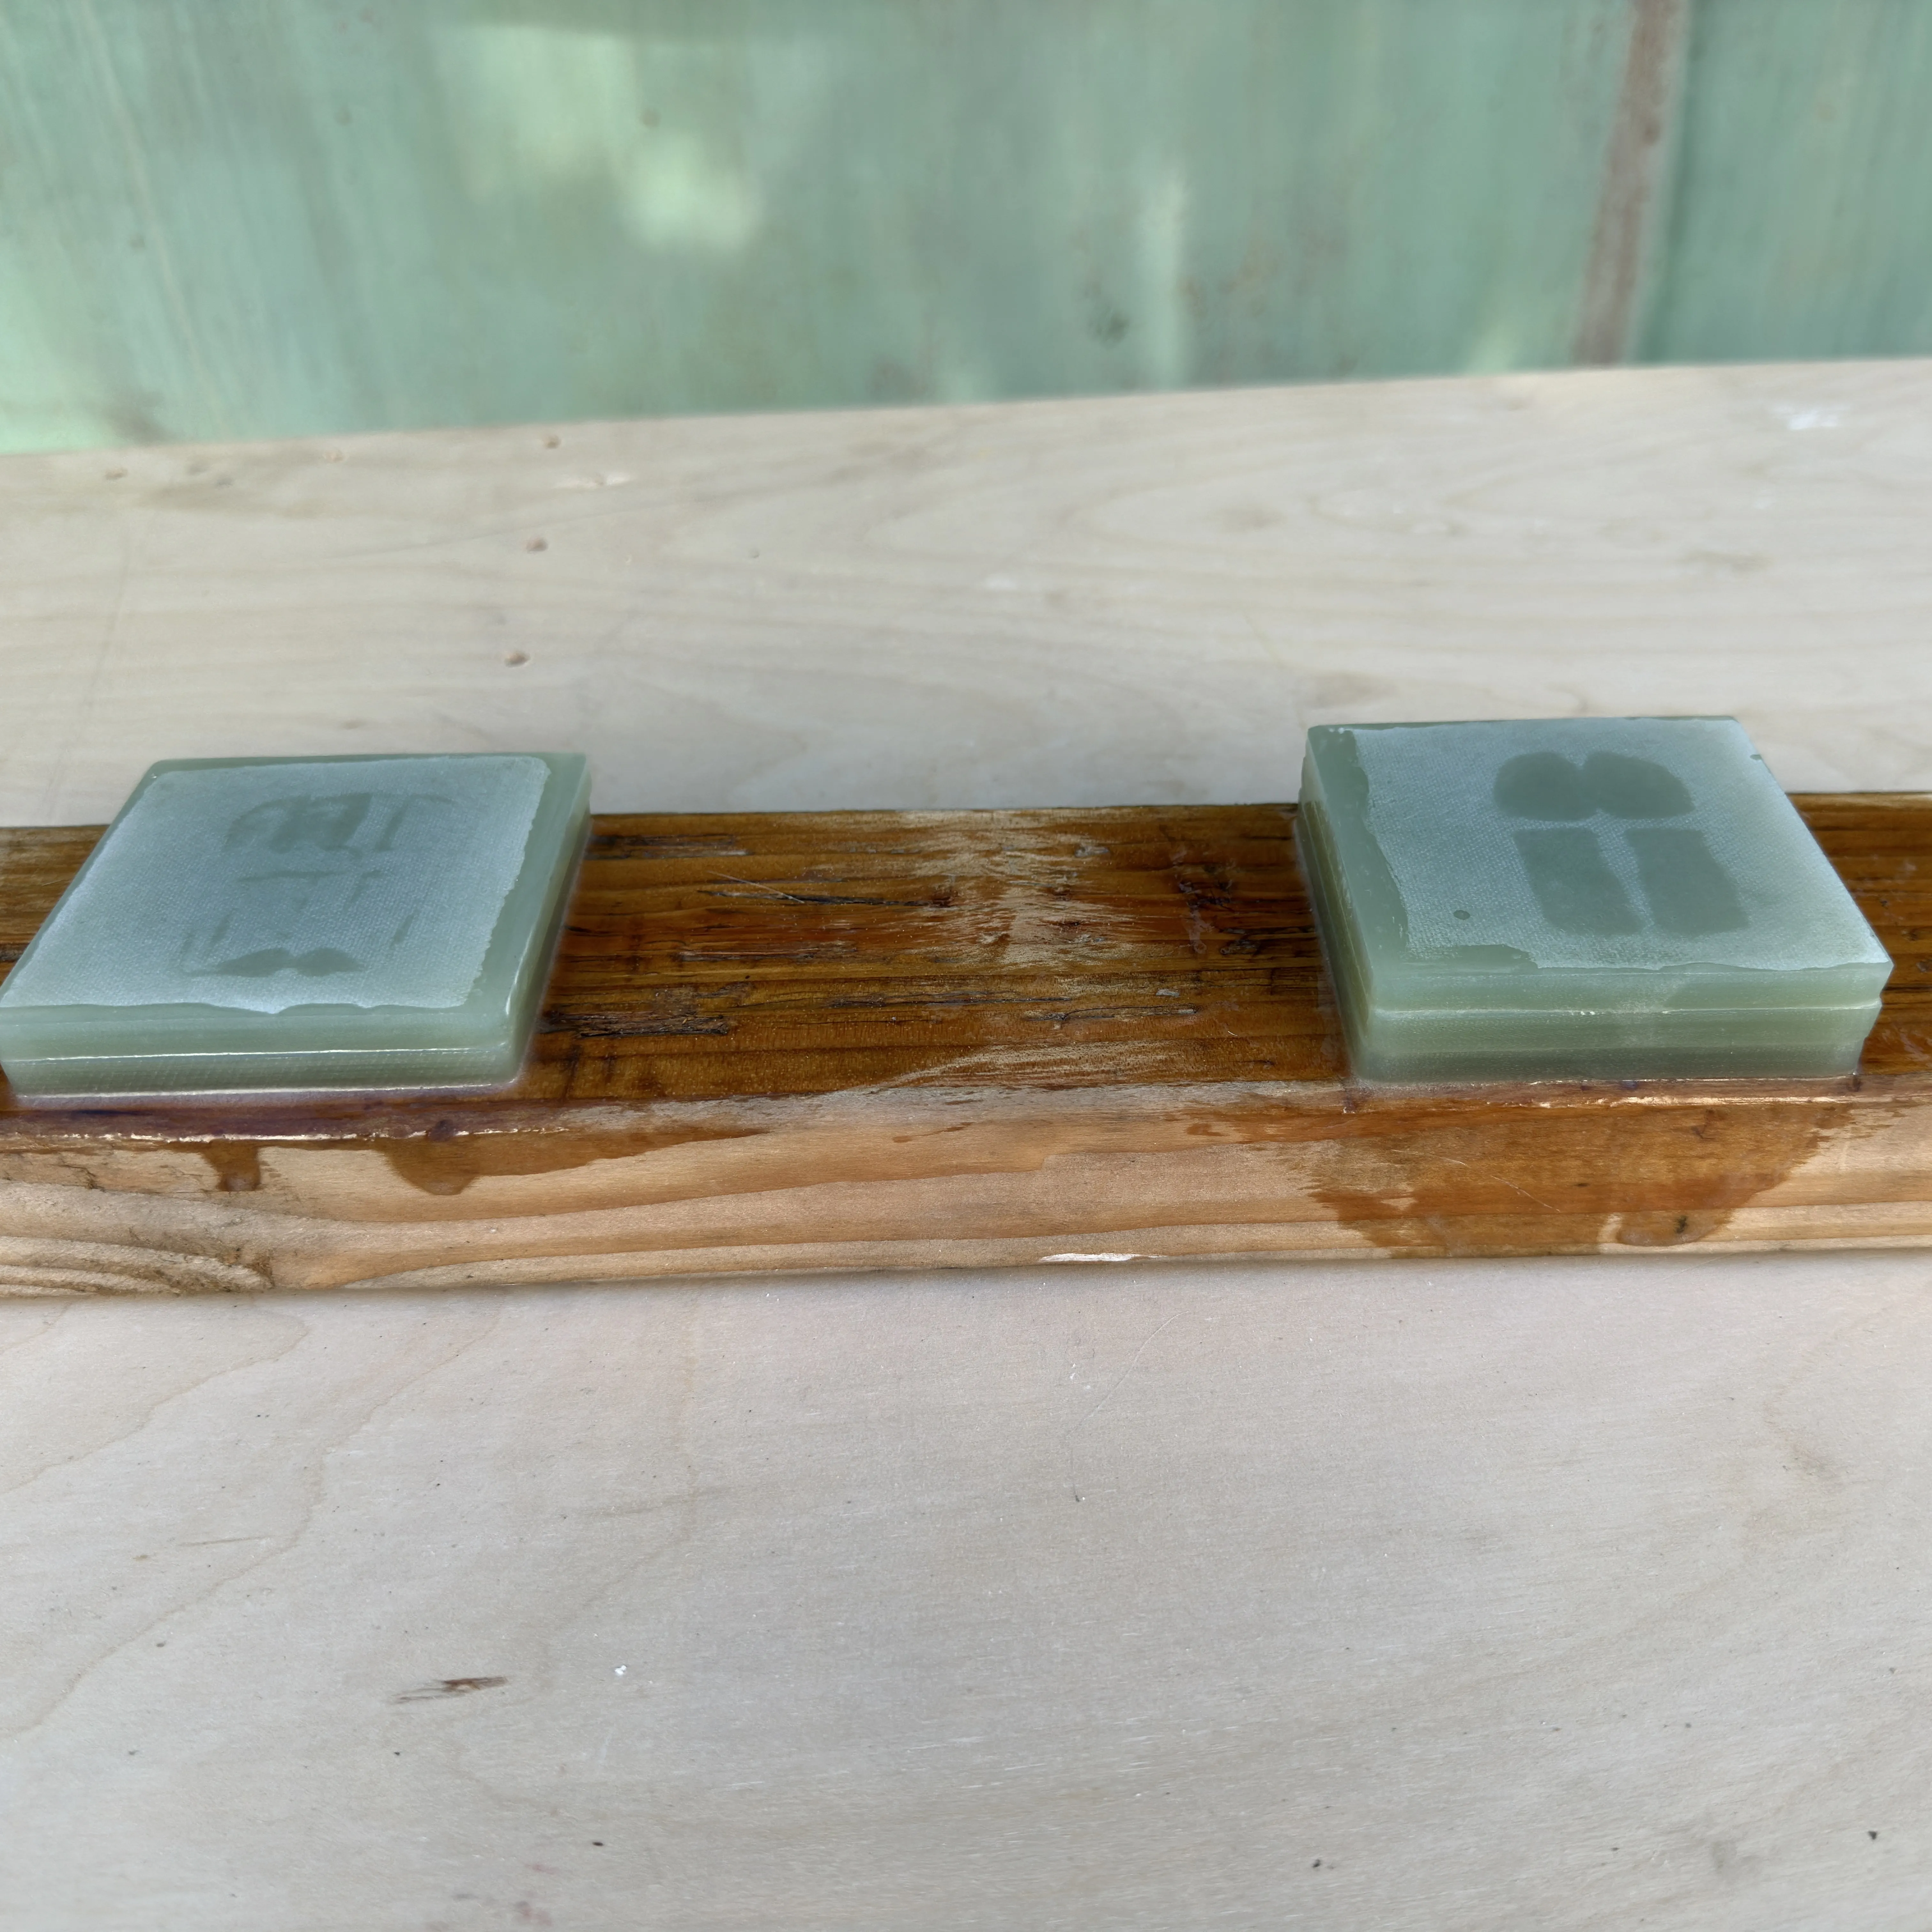
Once I had the surface model imported into Fusion 360, I designed a staggard shim stack out four layers of G10 that would be laminated together using West System epoxy (see Fig. 4). A solution partially driven by what was readily available on McMaster Carr. I developed simple fixtures to control the alignment of each of the four layers relative to each other and the flatness of the assembly while they cured (see Fig. 5). Finally, I thickened the epoxy slightly with colloidal silica and added .010” diameter glass beads to control bond line thickness and prevent squeeze out during clamp-up. The process was prototyped before committing to the build.
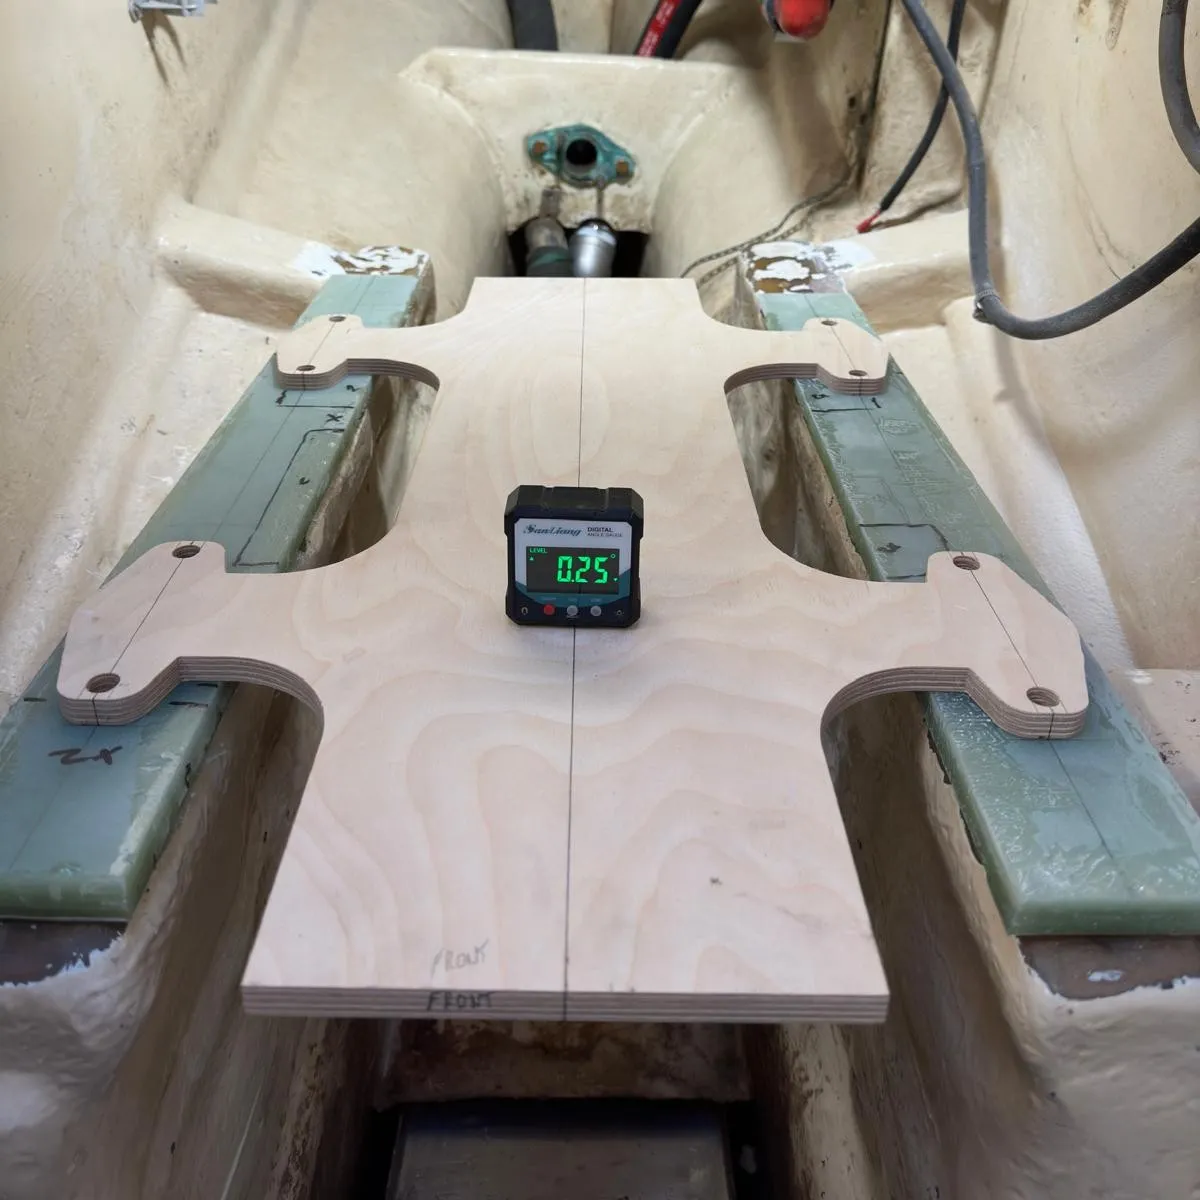
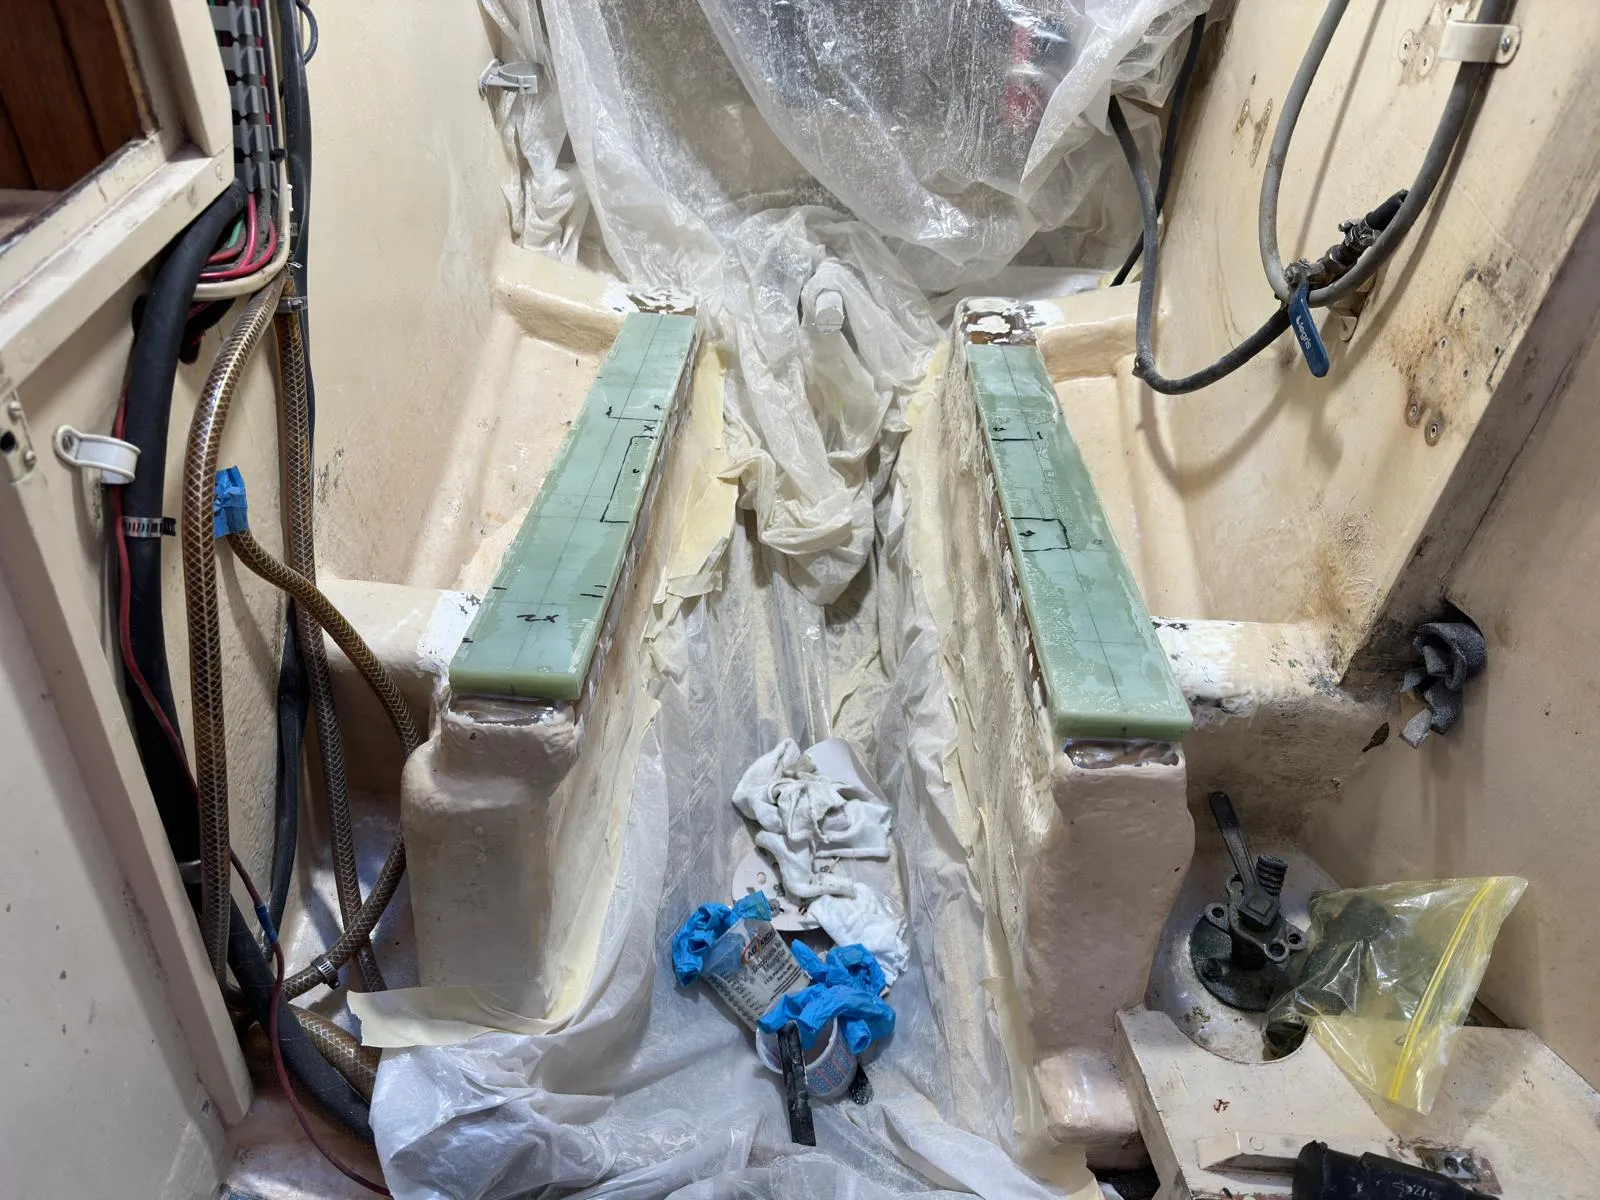
After the shims had been manufactured I carefully positioned them using a custom template I designed from assembly level drawings provided by the engine manufacturer and sourced from Send Cut Send (see Fig. 7). I then bonded them to the top of the existing stringers with thickened Epoxy (see Fig. 8), drilled the engine mount bolt holes using a jig and drill bushing - then finished it all off with a lot of sanding and a few coats of bilge paint (see Fig. 9).
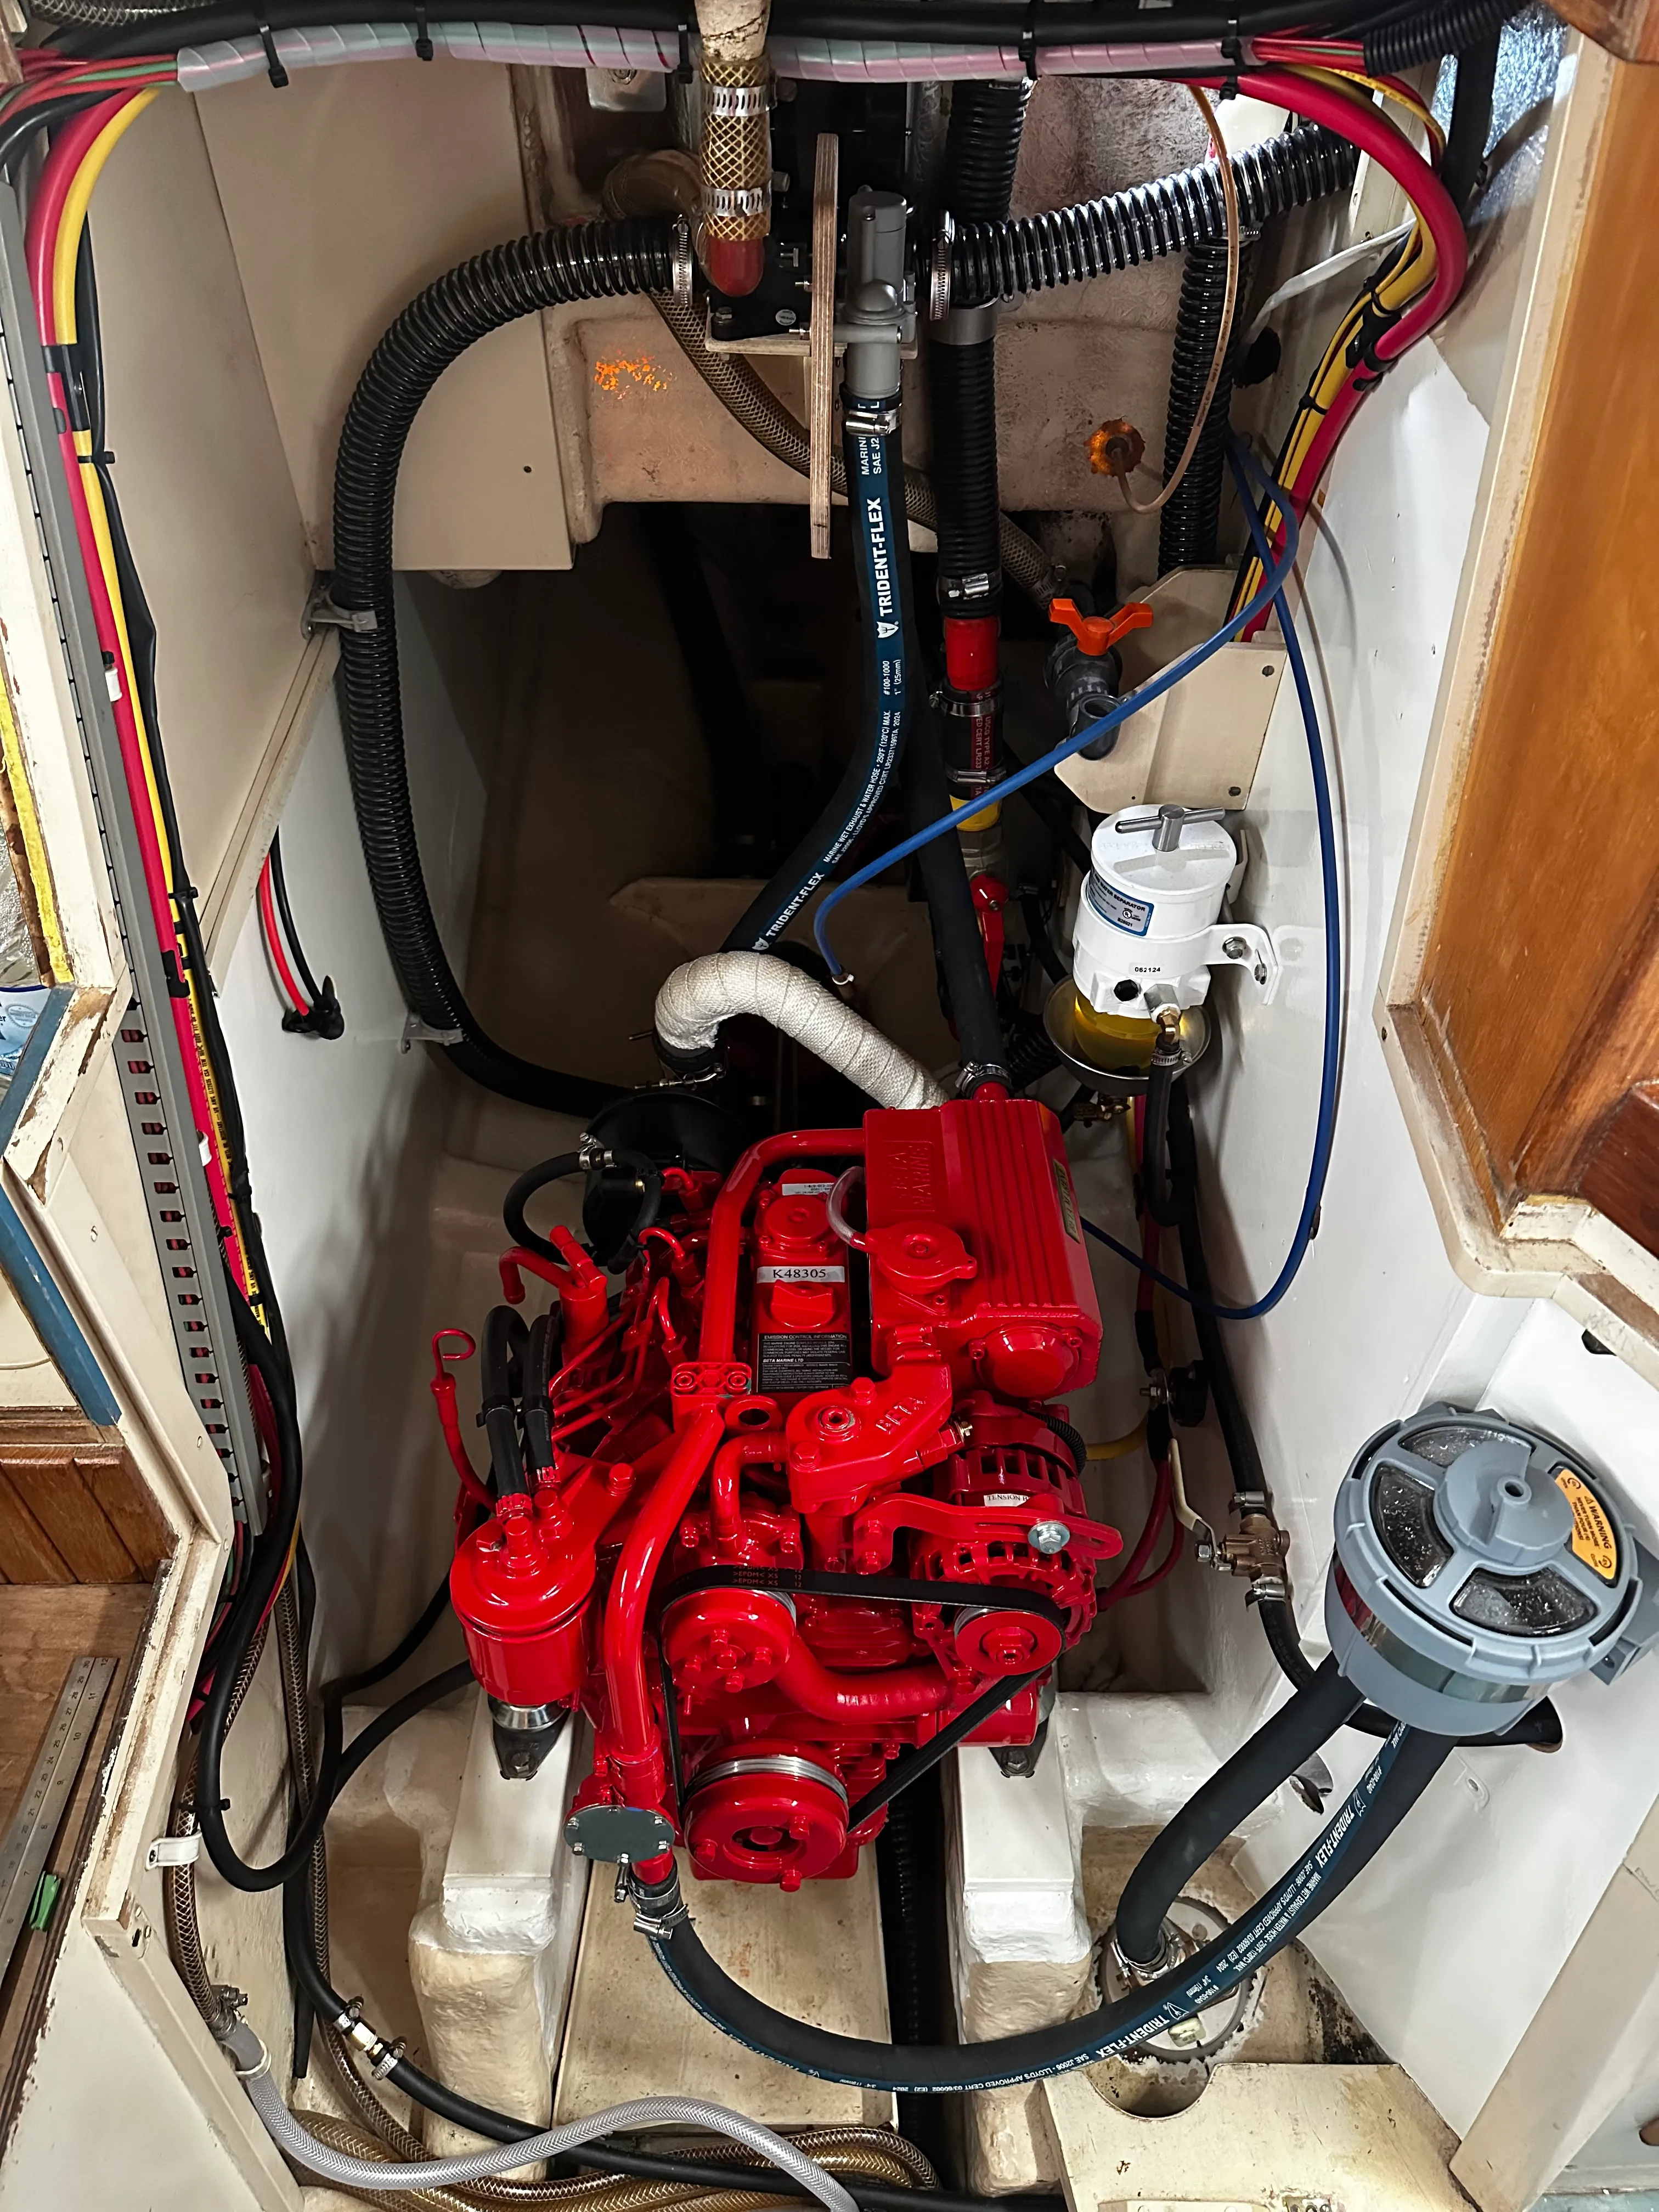
After the engine was commissioned, I sent in the warranty card and a few photos. The engine supplier said it was oe of the best installations they’d ever seen (see Fig. 10).
Once the refit was finished I captained this vessel roughly 4,500 nautical miles, up and down the US East Coast through the Bahamas and on to Guatemala via the notorious Windward Passage and Jamaica over the course of a year - nothing broke.
Build Photos 10 photos